


Why Is My iPhone Showing No SIM? Checks Before Repair

25/09/2026

5 Mins
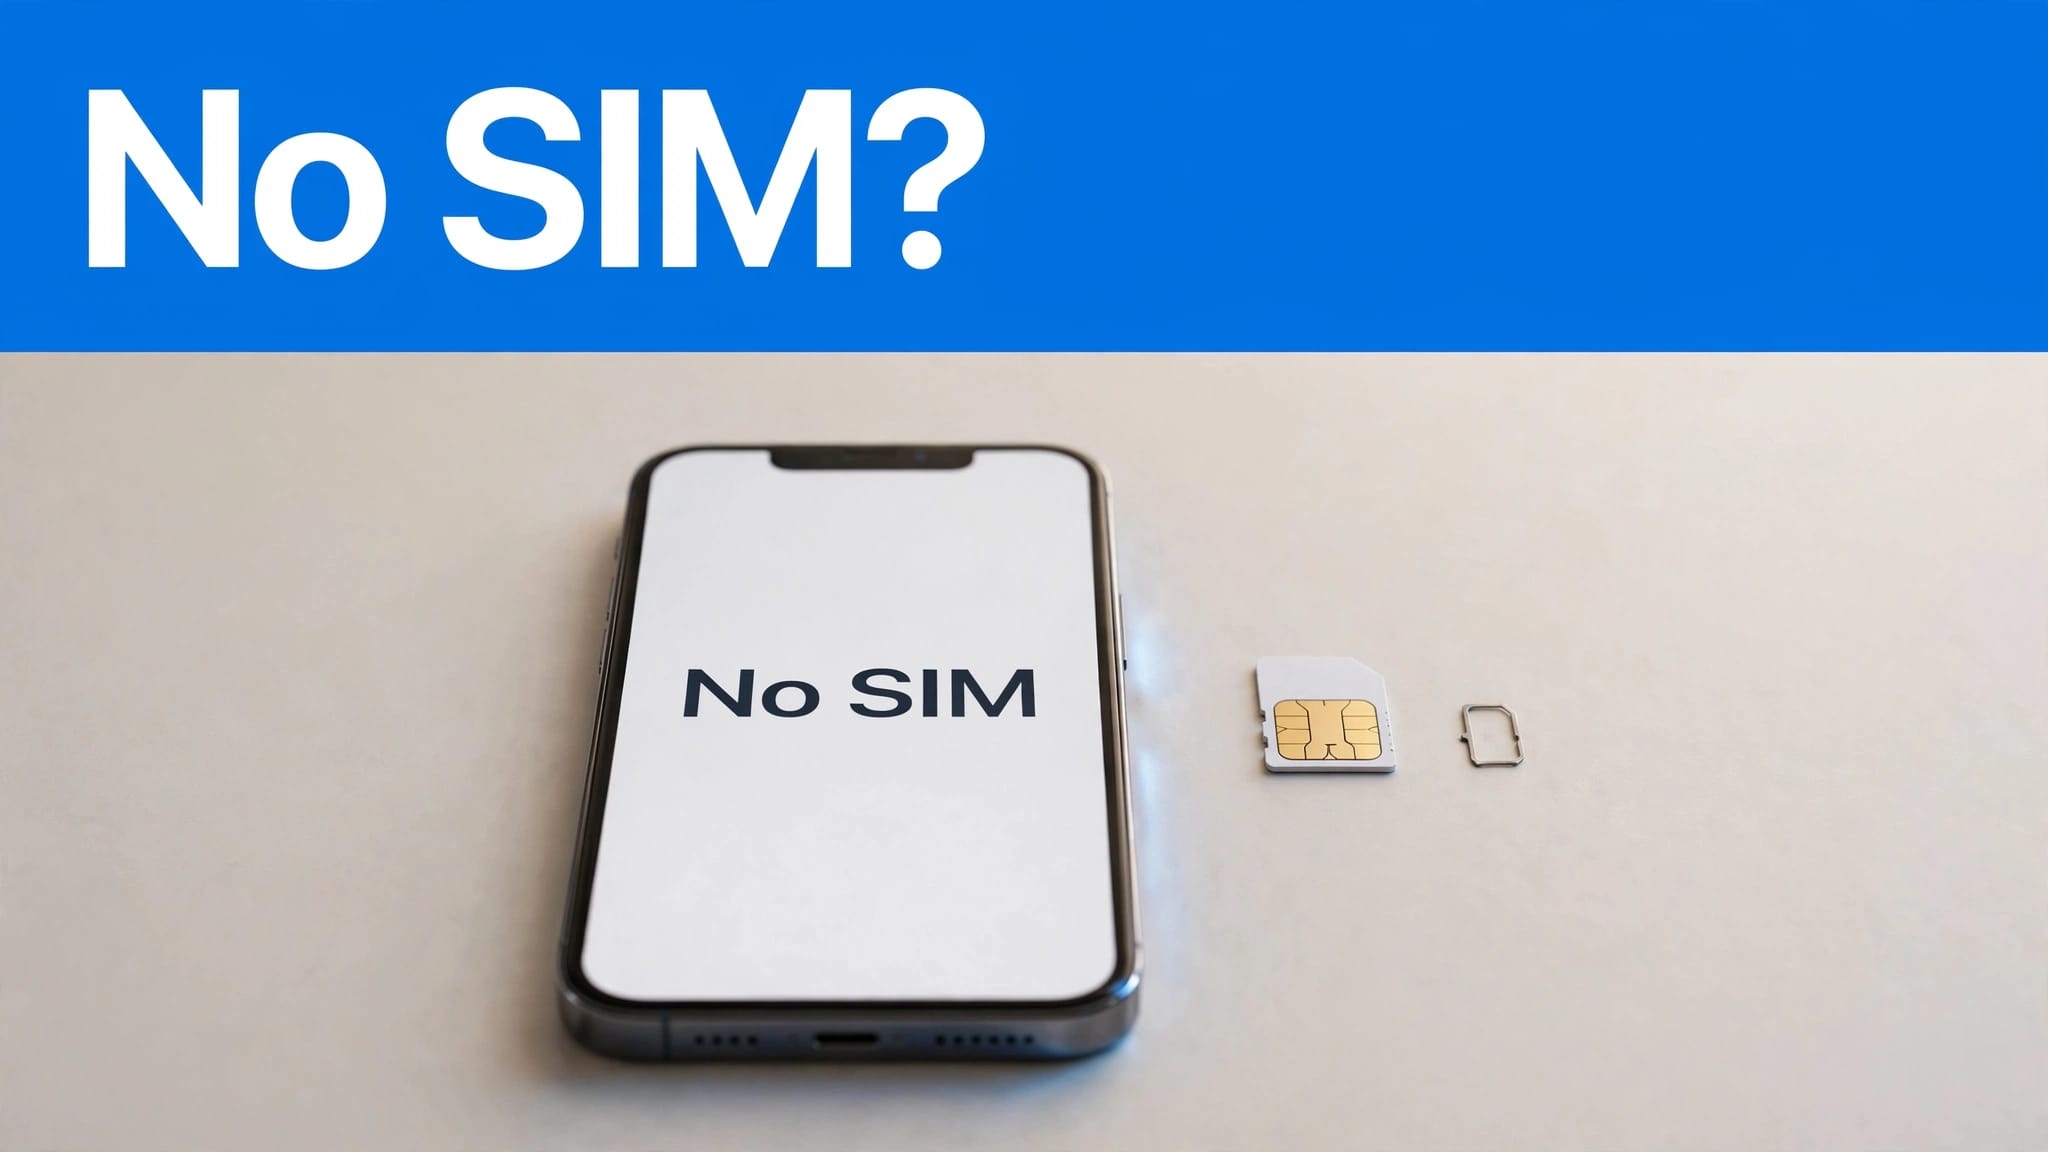
An iPhone no SIM alert means your phone can’t use its mobile plan, but it doesn’t tell you why. A settings problem, displaced SIM, network glitches or an issue with your network provider can interrupt mobile network access.
We’d start with the checks that leave your data and SIM untouched. Then you can work out whether to contact your network, inspect the card or have the phone examined.
The short version
- Restart your iPhone and check that Flight Mode is off. SOS mode can point to a network issue rather than a SIM fault.
- Connect to Wi-Fi, then check for iOS and carrier settings updates. Test cellular data afterwards.
- If you use a physical SIM card, inspect its placement and test another working SIM if possible.
Don’t book a repair on the strength of the alert alone. A SIM swap can tell you more than the alert, while your network provider can check whether your line is working.
How to fix an iPhone no SIM alert: quick steps
Work through these in order. Stop when calls and cellular data both work again.
- Toggle Flight Mode. Open Control Centre, turn it on briefly, then turn it off. Give the iPhone a moment to search for your network. If SOS mode appears, it may not be connected to a mobile network.
- Restart the iPhone. A fresh connection can clear a temporary fault, especially if the warning appeared suddenly.
- Check your cellular settings and mobile plan. Go to Settings > Mobile Service. If you use eSIM, check that your line appears and is turned on, and that cellular data is enabled. Don’t look for a SIM card to remove. Contact your network provider if the line is missing.
- Check for a carrier settings update. Connect to Wi-Fi, then open Settings > General > About. Your wireless carrier may provide an update, so install one if prompted. Apple’s carrier-settings instructions confirm this path.
- Update iOS. Open Settings > General > Software Update. We recommend backing up before installing an available software update.
- Inspect the physical SIM card. If your iPhone has a SIM tray, switch it off before removing the tray. Check that the card sits correctly and that neither the card nor tray shows obvious damage.
- Reset network settings only if earlier checks fail. Go to Settings > General > Transfer or Reset iPhone > Reset > Reset Network Settings. This isn’t a factory reset, but you’ll need to enter saved Wi-Fi passwords again.
If the iPhone has only recently been restored, keep it connected to Wi-Fi and allow time for its carrier status to update. For other connection problems, our iPhone mobile connection troubleshooting covers the network reset in more detail.
No SIM, Invalid SIM and SOS: what changes?
No SIM and Invalid SIM
A No SIM message doesn’t identify whether the SIM card, account or connection is at fault. Equally, Invalid SIM doesn’t prove the iPhone is network-locked. Check the SIM’s placement first, then ask your provider to confirm that the line and card are active.
If you bought the phone second-hand, open Settings > General > About and look for Carrier Lock or Network Provider Lock. “No SIM restrictions” indicates that iOS reports no network lock. Our used iPhone buying checklist explains why checking lock status matters before you rely on a seller’s description.
SOS mode on the status bar
SOS mode tells you the iPhone isn’t connected to your usual mobile network. It doesn’t identify the cause of a No SIM warning. Where available, the phone may still be able to place an emergency call through another network, but don’t treat SOS mode as proof that your usual calls or cellular data work.
Inspect the SIM and narrow down the fault
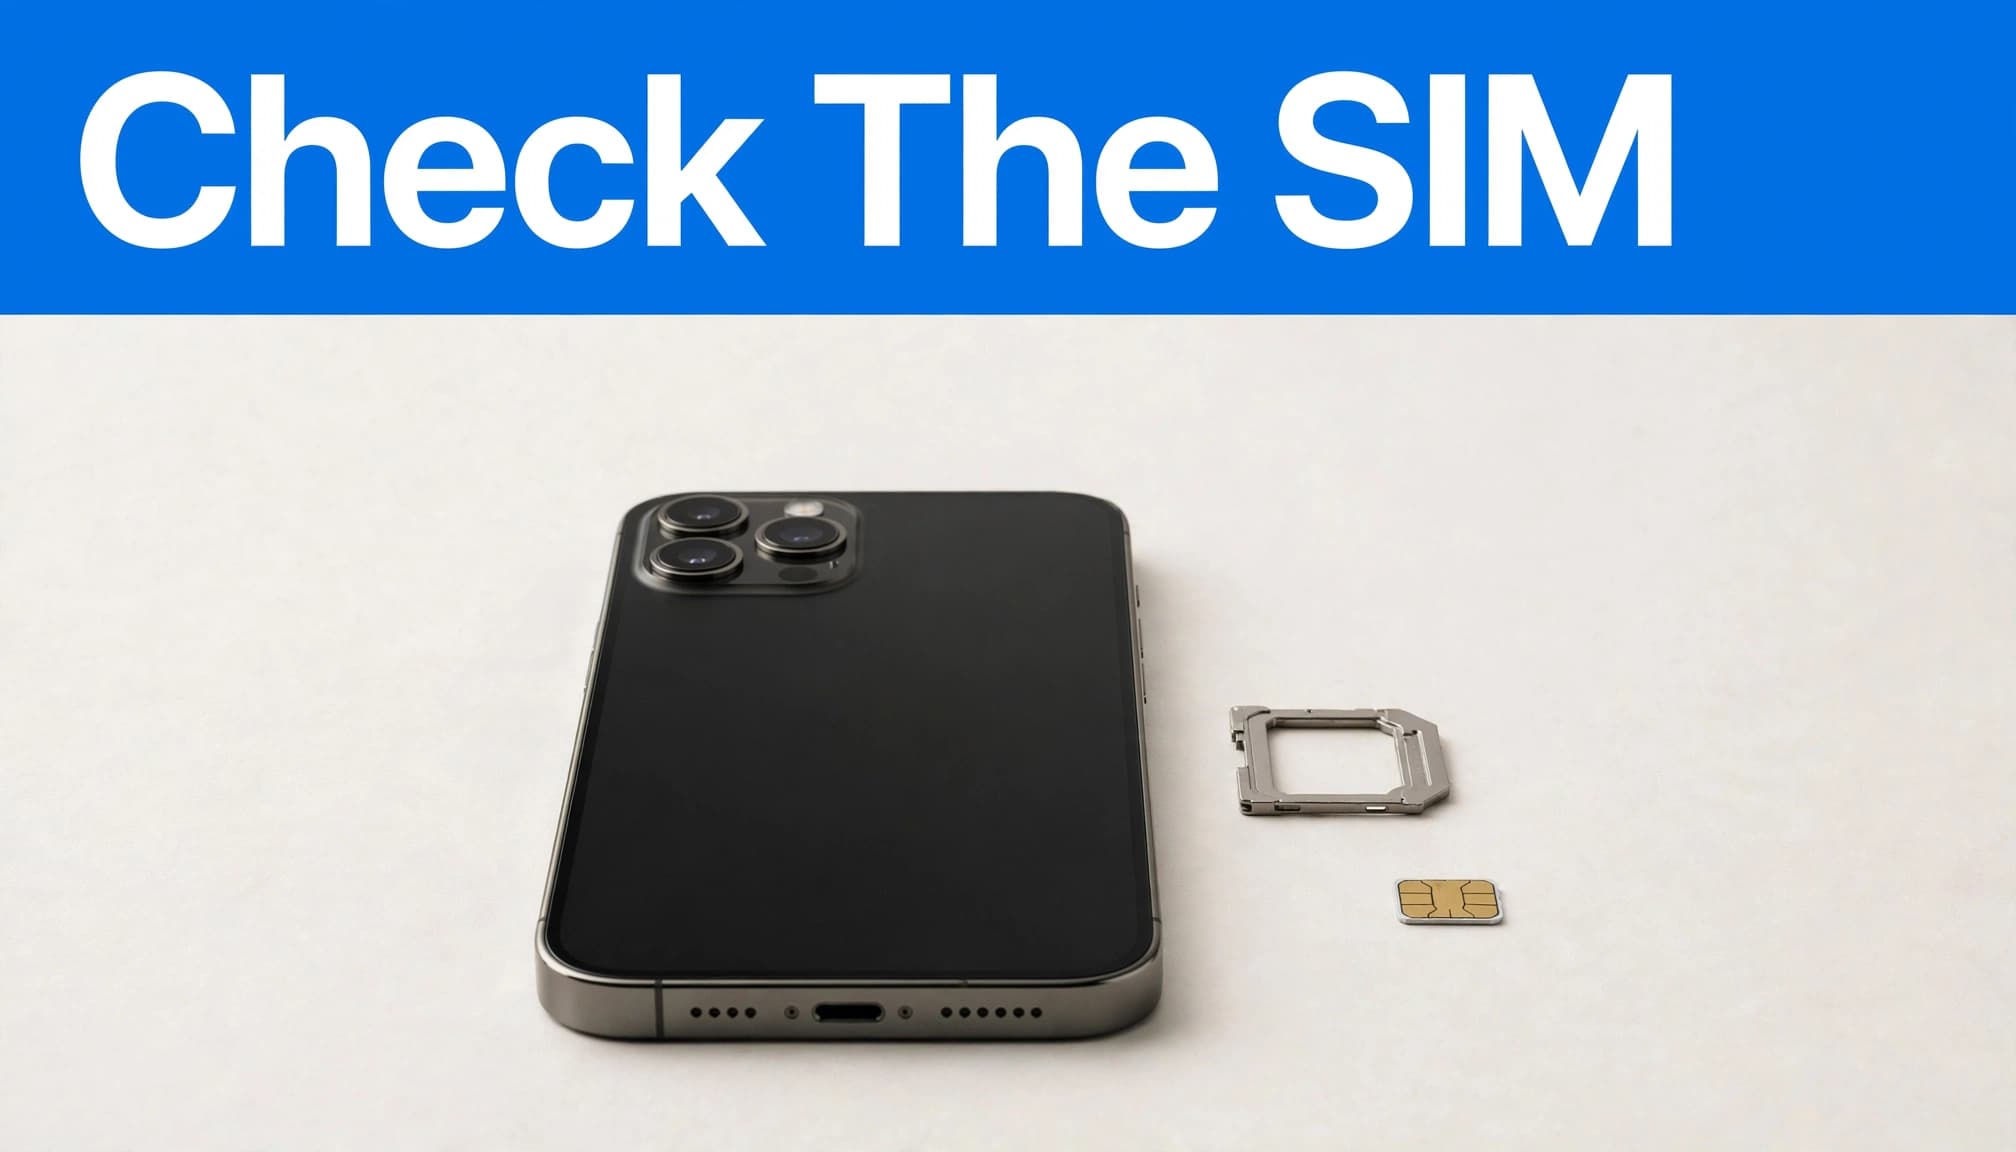
Check the card and tray gently
Use the iPhone’s SIM ejector tool at the tray opening and avoid forcing anything. Once the SIM tray is out, check that the SIM card sits flat, with no visible damage or bent tray. Reseat it carefully, then switch the phone on and wait for a signal.
If the tray won’t move easily, stop. Forcing it risks turning a connection problem into physical damage. A physical SIM card connects through the SIM slot, so this check doesn’t apply to an eSIM-only setup.
Test a second SIM if you can
A working SIM from another UK network is a useful test. If it connects and you can make a call and use cellular data, the iPhone can recognise that card. Your original SIM or account then deserves a closer look with your network provider.
You can also try your SIM in another compatible, unlocked phone. If neither card works in your iPhone, that points towards the handset, but it isn’t a diagnosis on its own. Check our SIM and network FAQs if you’re unsure what SIM-free and network-locked mean.
What We See on the Bench at Used Mobiles 4U
One thing we regularly notice is how easily a network fault gets mistaken for a phone fault. We check connection behaviour separately from cosmetic condition: a tidy screen and frame can’t tell you whether a handset recognises a SIM.
A common situation is a phone that works on Wi-Fi but has no mobile service after a SIM or provider change. We’d check the SIM card and plan with the network provider, then test a working card to distinguish a possible SIM failure from a handset fault. If it still fails, a technician can examine it without guessing at the cost or cause.
When buying a used iPhone, we think a call and mobile-data test is as important as checking the cameras or battery health. Do it during the return period, while any problem is straightforward to raise with the seller.
When to contact your network or seek repair
Contact your network provider first if the SIM fails in another phone, your eSIM line is missing, or activation is uncertain. Ask whether a replacement card or eSIM setup is appropriate. Apple’s explanation of carrier updates notes that a new SIM or eSIM may need updated network settings from your wireless carrier.
If the SIM failure continues with several known-working SIMs in the same iPhone after these checks, ask a repairer to assess it for a possible hardware failure. Back up your data before any repair or erase. You can reset network settings as a troubleshooting step, but a factory reset is different; we wouldn’t erase or replace a phone solely because a No SIM alert has appeared.
Conclusion
That sudden loss of signal, even in SOS mode, is frustrating, but the alert alone doesn’t justify a new phone. Test the connection methodically: restart, check updates, inspect the SIM where relevant, then compare it with another working card.
The result should guide your next call. A failing SIM is one for your mobile network provider; a phone that rejects working SIMs deserves a proper assessment before you decide whether to repair or replace it.
Frequently asked questions
Will resetting network settings delete my photos?
No. It resets your network settings, not your photos, though you’ll need to re-enter Wi-Fi passwords. Back up your iPhone before making broader changes.
Is an eSIM alternative to replacing a faulty physical SIM?
Ask your network whether it supports eSIM on your iPhone and plan. It may avoid a physical SIM problem, but it won’t fix every mobile connection fault.
Written by James Wateraston, with 24 years in the mobile phone industry and over eight years running Used Mobiles 4U.
Looking for a refurbished phone?
Shop professionally tested refurbished iPhones and Samsung phones with 18 month warranty, 30 day returns and free UK delivery.
Browse Refurbished Phones