

iPhone Data Transfer: Used-Phone Setup Problems

11/10/2026

7 Mins

Use Quick Start for an iPhone data transfer from your old iPhone to your new iPhone. If the old phone isn’t available, restore an iCloud or computer backup.
Before starting, check the used replacement for existing setup and previous-owner locks. Keep your old handset untouched until everything works.
The Short Version
- Choose Quick Start when both iPhones are available.
- Use iCloud if the old iPhone is no longer available.
- Save a backup of anything important on the new iPhone before erasing its existing setup.
- Keep both phones charged and don’t wipe the source until you’ve checked your files and accounts.
Prepare the Used iPhone Before Transferring
Start from the Hello screen
A used iPhone should arrive erased and ready for setup. If it opens onto a Home Screen, save anything you need from it first.
Then go to Settings > General > Transfer or Reset iPhone > Erase All Content and Settings. This deletes the replacement’s existing content so you can use Quick Start or restore from iCloud.
If setup requests the previous owner’s Apple Account, stop. The seller must remove Activation Lock; a data transfer won’t bypass it.
Our second-hand iPhone setup guide covers the wider preparation checks.
Check power, software and storage
Charge both phones and keep them connected to power. On the old iPhone, turn on Bluetooth and connect to reliable Wi-Fi.
Update each phone through Settings > General > Software Update, using the latest version it supports. Make a fresh backup before starting.
Next, open Settings > General > iPhone Storage. Your replacement needs enough capacity for the content you’re bringing across, plus room for apps and updates.
How to Complete an iPhone Data Transfer: Quick Steps
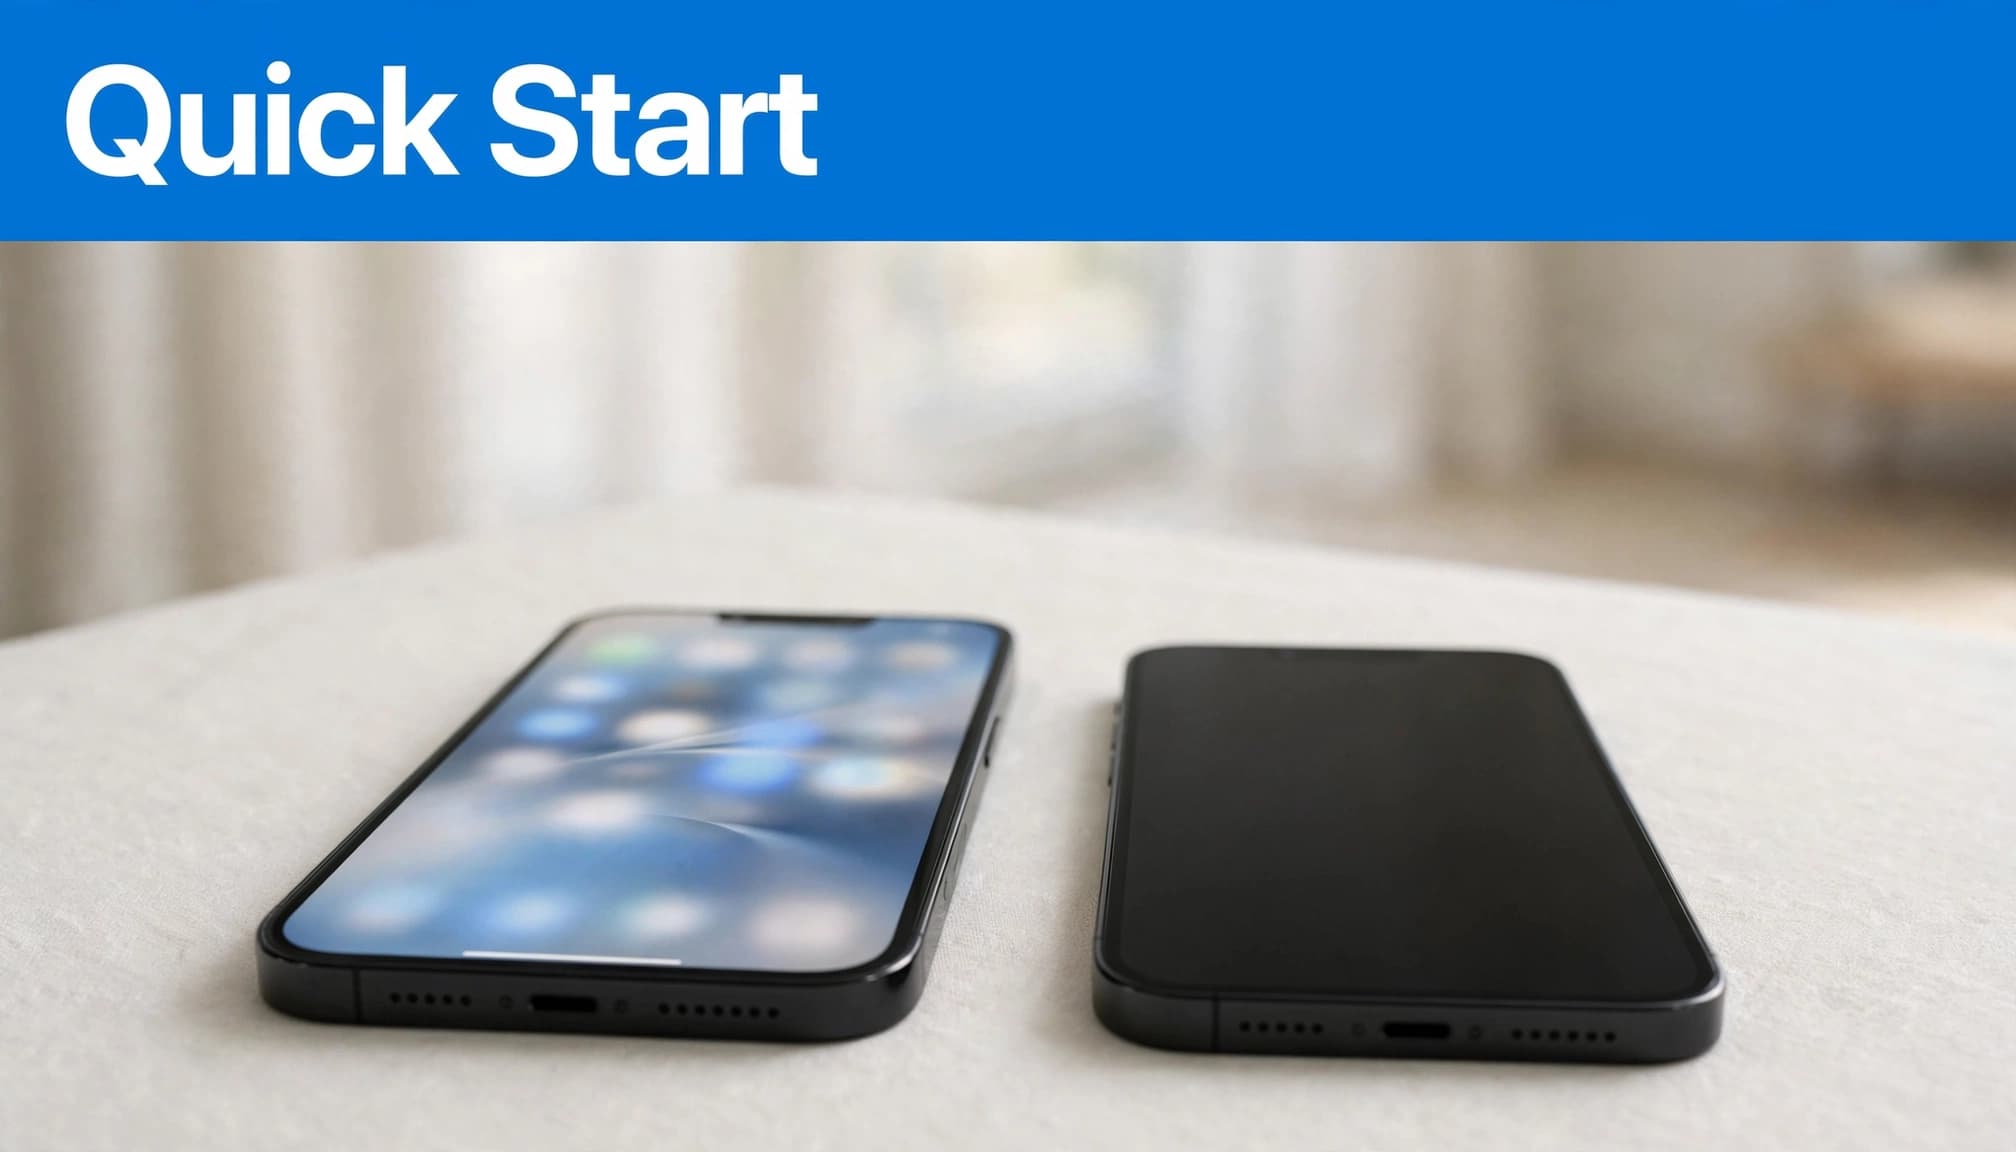
Quick Start completes an iPhone data transfer wirelessly, without a Mac, PC or cable.
- Turn on the replacement at the Hello screen. Unlock the old iPhone and place both devices side by side.
- When the setup prompt appears, confirm the Apple Account you want to use, formerly called Apple ID, then tap Continue.
- Use the old phone’s camera to scan the animation displayed on the new iPhone. This pairs the devices.
- Enter the old phone’s passcode on the replacement when prompted. Connect to Wi-Fi and follow any mobile-service activation instructions.
- Set up Face ID or Touch ID again. When offered a transfer method, choose Transfer from iPhone for a direct move with Quick Start.
- Keep both phones close together and connected to power until both show completion. Avoid using either during the transfer.
We favour this route when both handsets work and are available together. Quick Start doesn’t require a backup, but a separate backup gives you a safety net.
Restore from iCloud When the Old Phone Isn’t Available
Make the iCloud backup before selling or trading in
On the old iPhone, open Settings > your name > iCloud, then tap Back Up Now.
Stay connected to Wi-Fi until it finishes. The latest successful iCloud backup should show today’s date, not an older automatic copy.
Apple’s iPhone backup instructions cover cloud and computer copies. If you’re trading in before receiving the new iPhone, finish this copy before handing over your phone.
Choose the backup during setup
At the new iPhone’s Apps & Data screen, choose restore from backup.
Sign in with the same Apple ID and select the latest suitable copy in iCloud. Install a software update if setup requests one.
You can start using the phone whilst apps and other content download in the background. Keep it connected to Wi-Fi and power.
Without the old phone or a saved copy, only information already synchronised with online services can return. Setup can’t recover files stored only on the missing handset.
Back Up and Restore Using a Mac or PC
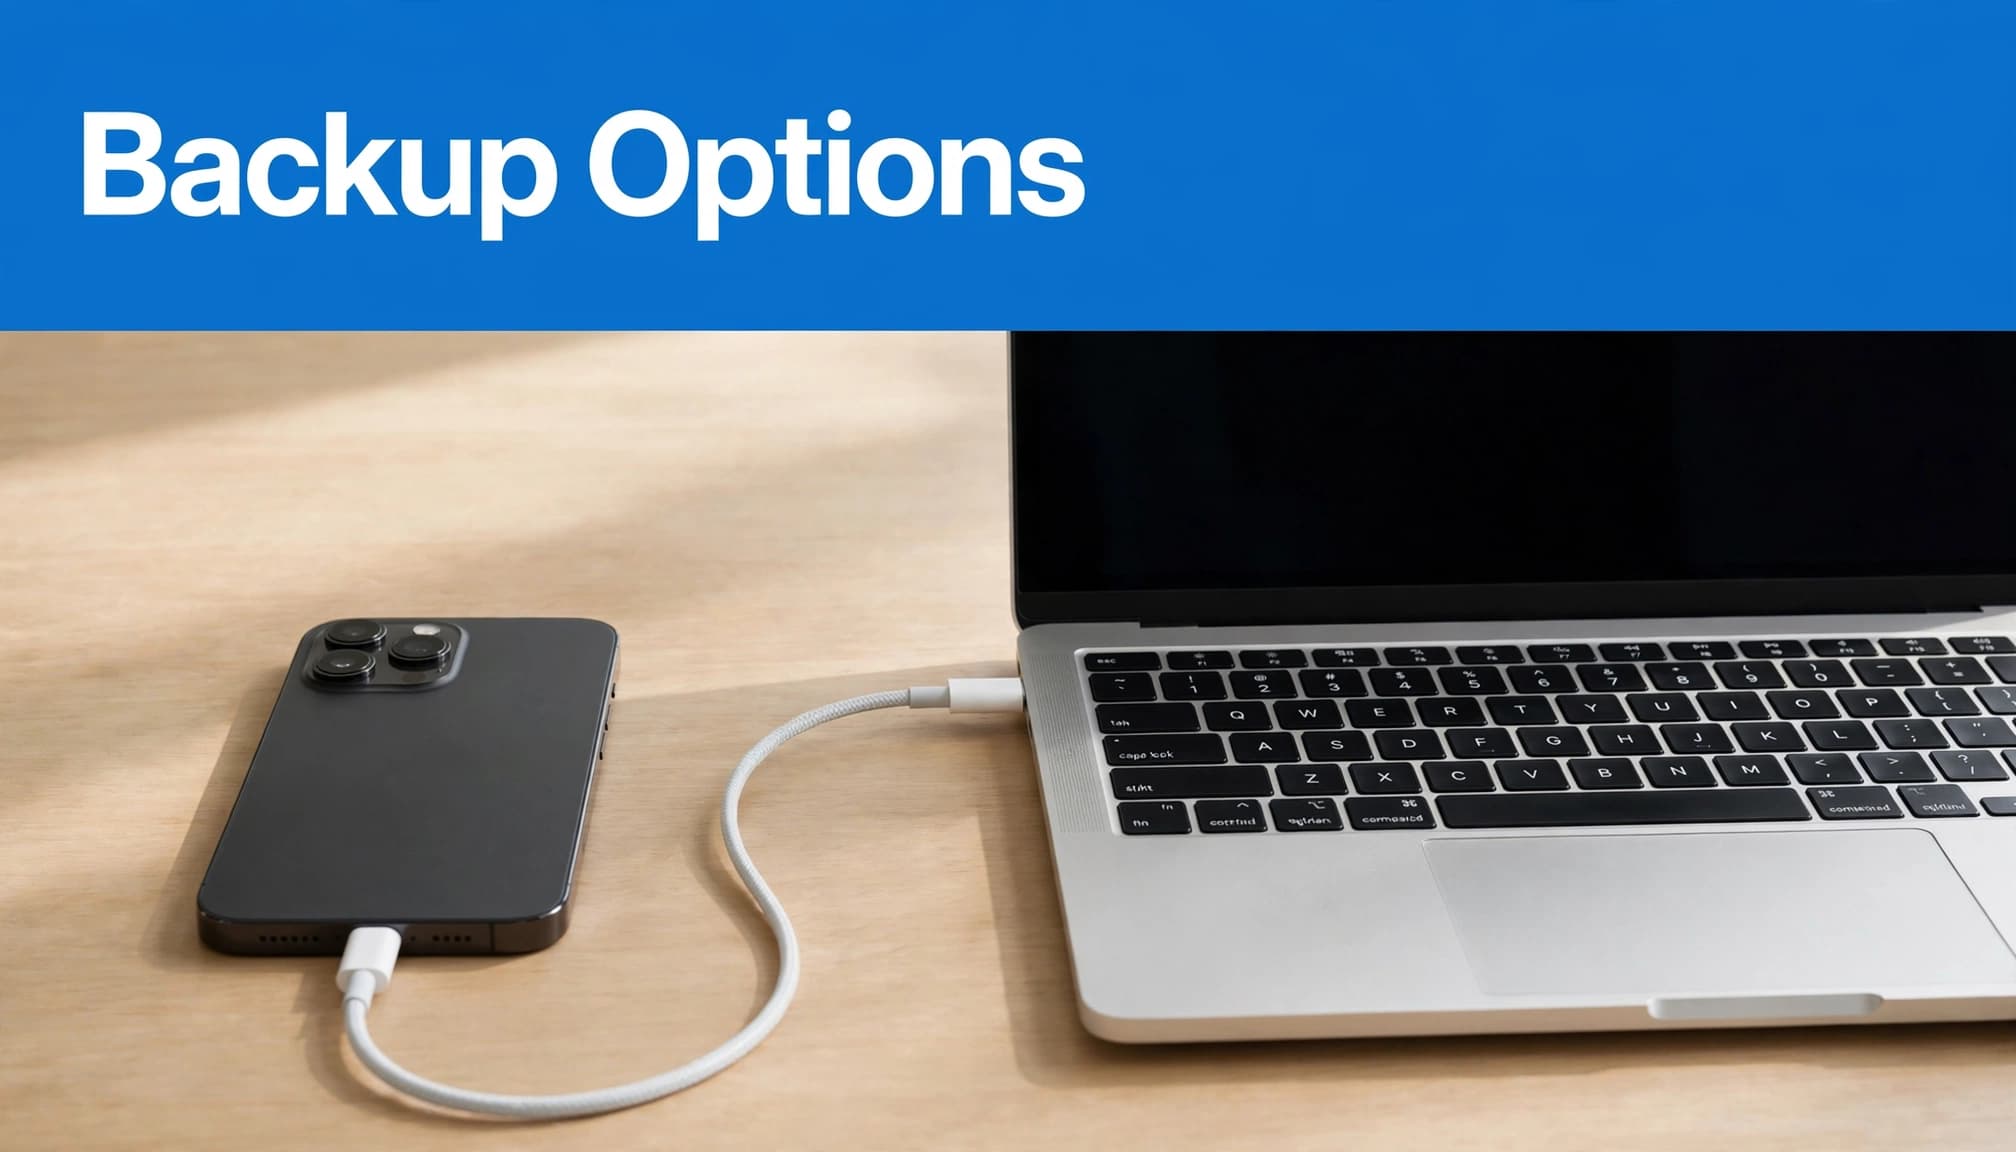
A computer backup is useful when your internet connection is slow or you prefer a local copy.
On macOS Catalina and later, use Finder. On macOS Mojave or earlier, use iTunes. On Windows, install the Apple Devices app from the Microsoft Store, then open the Apple Devices app to manage your iPhone.
Connect the old iPhone with a data-capable cable. Unlock it, approve Trust This Computer, and select the phone in the app.
Choose the option to save a backup to the computer. Enable Encrypt local backup to include saved passwords, Health data and Wi-Fi settings. Keep the encryption password somewhere safe, then select Back Up Now.
Apple’s Mac backup and restore guidance explains these controls.
During replacement setup, choose Restore from Mac or PC at the Apps & Data screen. Connect the iPhone to your Mac or PC, select Restore Backup, and choose the saved copy. Enter its encryption password if requested.
Choose Restore from Mac or PC to use a local copy during setup.
Keep the phone connected through the restart and synchronisation.
Transfer Times and Cable Speeds
An iPhone data transfer can take minutes or several hours. Large photo libraries, videos and app downloads extend the wait.
Internet speed matters for iCloud restores and downloads. Direct migration also depends on the devices and the volume of local data.
The USB-C cable supplied with an iPhone supports USB 2 data speeds, up to 480Mbps. Pro iPhones support USB 3 speeds up to 10Gbps with a compatible lead.
That theoretical USB 3 maximum is over 20 times USB 2’s speed. However, it doesn’t mean the complete migration finishes 20 times faster.
We wouldn’t buy a faster option solely because the remaining-time estimate increases. For a computer restore, a reliable data connection matters more than the number printed on the packaging.
Fix a Stalled or Failed Transfer in Order
Deal with connection and software first
A changing time estimate doesn’t necessarily mean the transfer has stopped. Keep both phones powered and nearby while progress continues.
If the process clearly stalls, restart both iPhones. This interrupts the current attempt so you can begin again without erasing the source phone.
Reconnect to a strong Wi-Fi network and turn Bluetooth on. Weak connections commonly disrupt setup, downloads and cloud restoration.
Then update both phones to their latest supported iOS versions. A replacement on an older iOS version than the one required by the backup may need updating before it can restore.
Apple’s backup restoration guidance covers that software-update prompt.
Address space, cables and management restrictions
If the replacement reports insufficient storage, reduce the source data before retrying. Save large videos elsewhere and remove unnecessary offline downloads.
Offloading apps keeps their documents, so it won’t necessarily free enough space. Our iPhone storage guidance explains the options.
For computer restores, try a known-good data cable and a direct USB port instead of a hub.
If setup stops at Remote Management or an organisation’s enrolment screen, contact its IT administrator or the seller. Erasing repeatedly won’t remove required management.
What We Check Before Resale
A reliable transfer depends on working hardware as well as correct setup. Our checks cover charging, Wi-Fi, mobile connectivity and device activation before resale.
Cosmetic grading describes appearance. Grade A doesn’t mean a phone has more storage or transfers data faster than a lower cosmetic grade.
If the source phone’s battery loses charge quickly, inspect Settings > Battery > Battery Health & Charging. Some versions show Battery Health instead.
We recommend keeping the source phone on power throughout migration. A loose charging connection also needs attention before a long transfer, because an unexpected shutdown can interrupt the process.
Check Chats and Accounts Before Wiping the Old Phone
Give WhatsApp its own attention
Don’t assume that seeing the WhatsApp icon means every conversation has returned. Open older chats and test photos and voice notes.
Before migration, go to WhatsApp > Settings > Chats > Chat Backup > Back Up Now.
WhatsApp also offers direct iPhone-to-iPhone chat transfer through Settings > Chats > Transfer Chats to iPhone. Follow its pairing instructions, keep both devices nearby and use the same phone number.
Reactivate security and payment features
Apple Pay cards in Wallet may need adding again, with security codes or bank approval where required. Some banking apps also require fresh registration.
For Google Authenticator, confirm account synchronisation is active or use its account-transfer feature before losing access to the old iPhone. Other authentication apps have their own migration procedures.
Test calls, texts and mobile data after transferring your SIM or activating an eSIM. Under Settings > General > About > Network Provider Lock, an unlocked iPhone shows No SIM restrictions.
Finally, compare contacts, recent and older photos, messages and important documents. A completed progress bar doesn’t confirm that every account is ready.
Frequently Asked Questions
Can only selected data be transferred?
Quick Start and full-device restores move the whole device rather than offering detailed category selection.
For a selective move, set up the replacement as a new iPhone, enable the iCloud categories you want, and use AirDrop for chosen photos or files. You’ll need to reinstall apps and configure accounts separately.
Does transferring data erase the old iPhone?
No. Quick Start and a backup leave the old iPhone’s content in place.
Erasure is a separate action. Wait until your replacement’s files, chats and authentication methods work before signing out and using Erase All Content and Settings on the old handset.
Finish the Transfer Before Letting the Old Phone Go
Use Quick Start when both phones are available, with an iCloud or computer backup as the fallback. Keep the old iPhone intact until your replacement works fully.
Once you’ve confirmed your files and accounts, wipe the old handset securely. If you’re ready to pass it on, Sell Your Old Phone is the next step.
Looking for a refurbished phone?
Shop professionally tested refurbished iPhones and Samsung phones with 18 month warranty, 30 day returns and free UK delivery.
Browse Refurbished Phones