


iPhone Call Microphone Not Working? Diagnose It First

30/09/2026

8 Mins
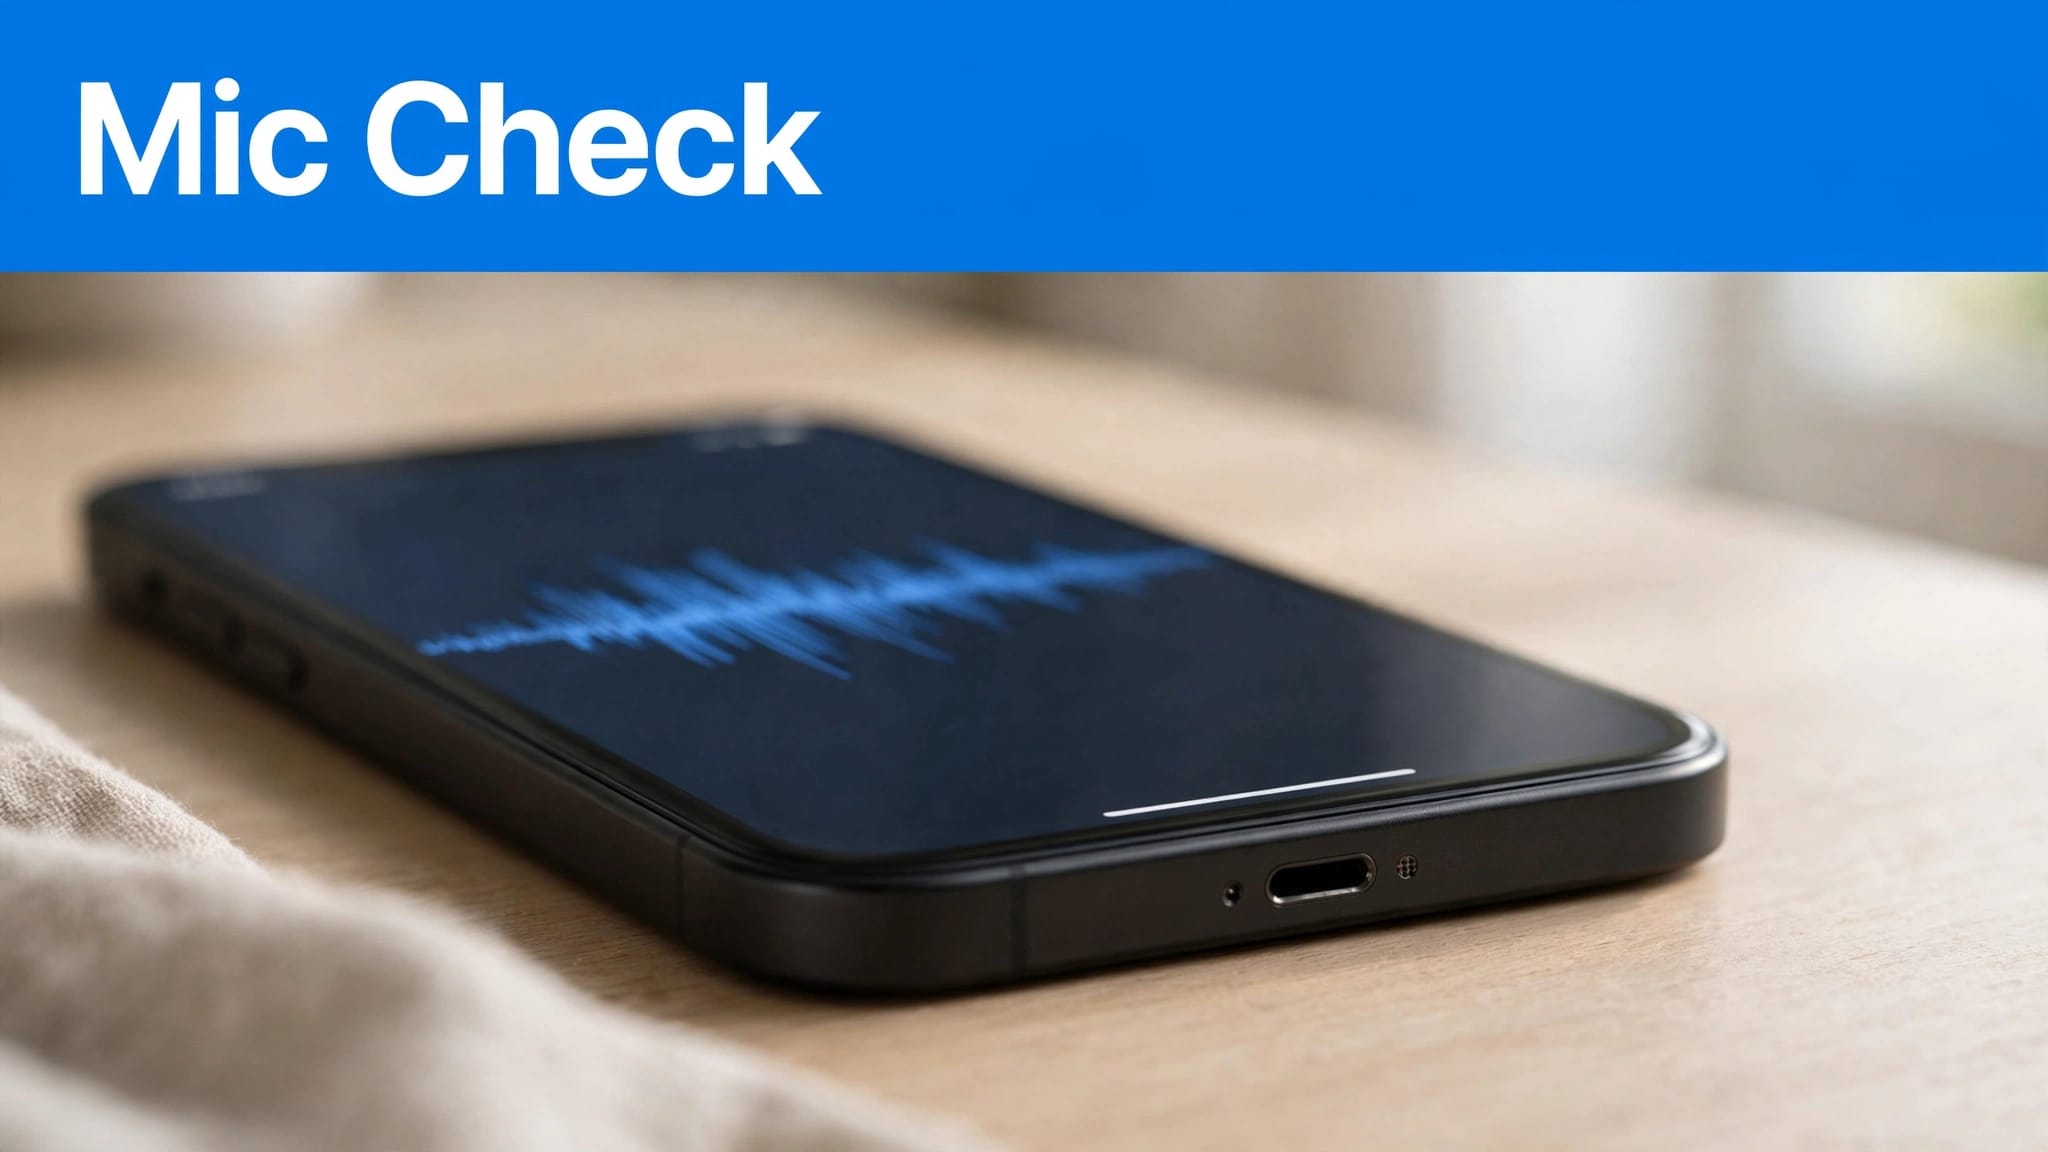
Your iPhone call microphone may seem faulty because of blocked openings, a connected headset, app settings or a software problem. A hardware problem is another possibility, but we recommend testing recordings before paying for repairs.
The useful clue is where the problem happens: ordinary calls, speakerphone, one app or every recording. Start by comparing those situations, then work through the checks below.
The Short Version
- Check that the call isn’t muted and, in Control Centre, confirm audio is routed to the iPhone rather than Bluetooth audio devices.
- Remove the case, then compare audio quality on a call, in a voice memo and in front and rear camera recordings. Listen for ambient noises.
- If recordings sound clear but calls fail, investigate call routing, settings and network conditions.
- If several recordings remain muffled or silent, arrange a hardware assessment after the basic checks.
How to Check an iPhone Call Microphone: Quick Steps
We suggest this order because it separates call problems from recording problems without changing much on your phone.
- Make a test call to someone who can describe what they hear. Check the Mute button first.
- Use the call controls or Control Centre to select the iPhone as the audio device, rather than connected earbuds or a car system.
- Remove the case and any screen protector covering an opening. Inspect the phone under good light.
- Open Voice Memos. Record yourself speaking towards the bottom of the phone to test the bottom microphone area, then listen back. This doesn’t identify a failed component.
- Use the Apple camera app to record a short video with the rear camera, then repeat with the front camera. Speak clearly towards the upper part of the phone.
- Restart the iPhone normally, then repeat the call using both the earpiece and speakerphone. If the iPhone is frozen, follow the model-specific force restart steps.
- If the problem remains, compare an ordinary call with FaceTime or another calling app.
Keep the recordings so you can describe the fault accurately. Apple’s microphone troubleshooting guidance also uses Voice Memos and camera recordings to investigate microphone problems.
These checks don’t erase data. However, back up before arranging repairs or attempting any reset that could remove information.
What the Recording Tests Can Tell You
iPhones have multiple microphones, with openings around the bottom edge, upper front and rear camera area. Their exact arrangement varies.
We use comparison tests to narrow down the fault, rather than assigning every symptom to one opening.
Voice Memos Is Muffled or Silent
If your Voice Memos recording sounds poor, make another audio recording without the case or connected audio accessories. Make sure your fingers aren’t covering the bottom edge.
Then compare both camera recordings and their audio quality. Poor results across several tests raise concerns about an obstruction, damage or a wider audio fault, but don’t identify the failed component.
A clear camera recording alongside a poor voice memo is useful evidence for a technician. However, a test aimed at the bottom microphone area doesn’t confirm an internal microphone fault. Apps and recording modes can use different microphones and audio processing.
After a normal restart, repeat the tests. Reserve a force restart for a frozen handset.
Recordings Are Clear but Calls Fail
Clear recordings suggest that at least the tested recording functions work. Next, compare ordinary calls, speakerphone calls and FaceTime or calls in other apps under similar conditions.
If only ordinary mobile calls fail, try another location and another contact. Poor reception or a network issue can interrupt outgoing speech. If only one third-party app fails, check its access and updates.
Speakerphone-only trouble also needs comparison testing, rather than an assumed microphone diagnosis. If you can’t hear the caller, that’s a different problem. Apple’s speaker and receiver checks address incoming sound.
Rule Out Bluetooth and Call Routing
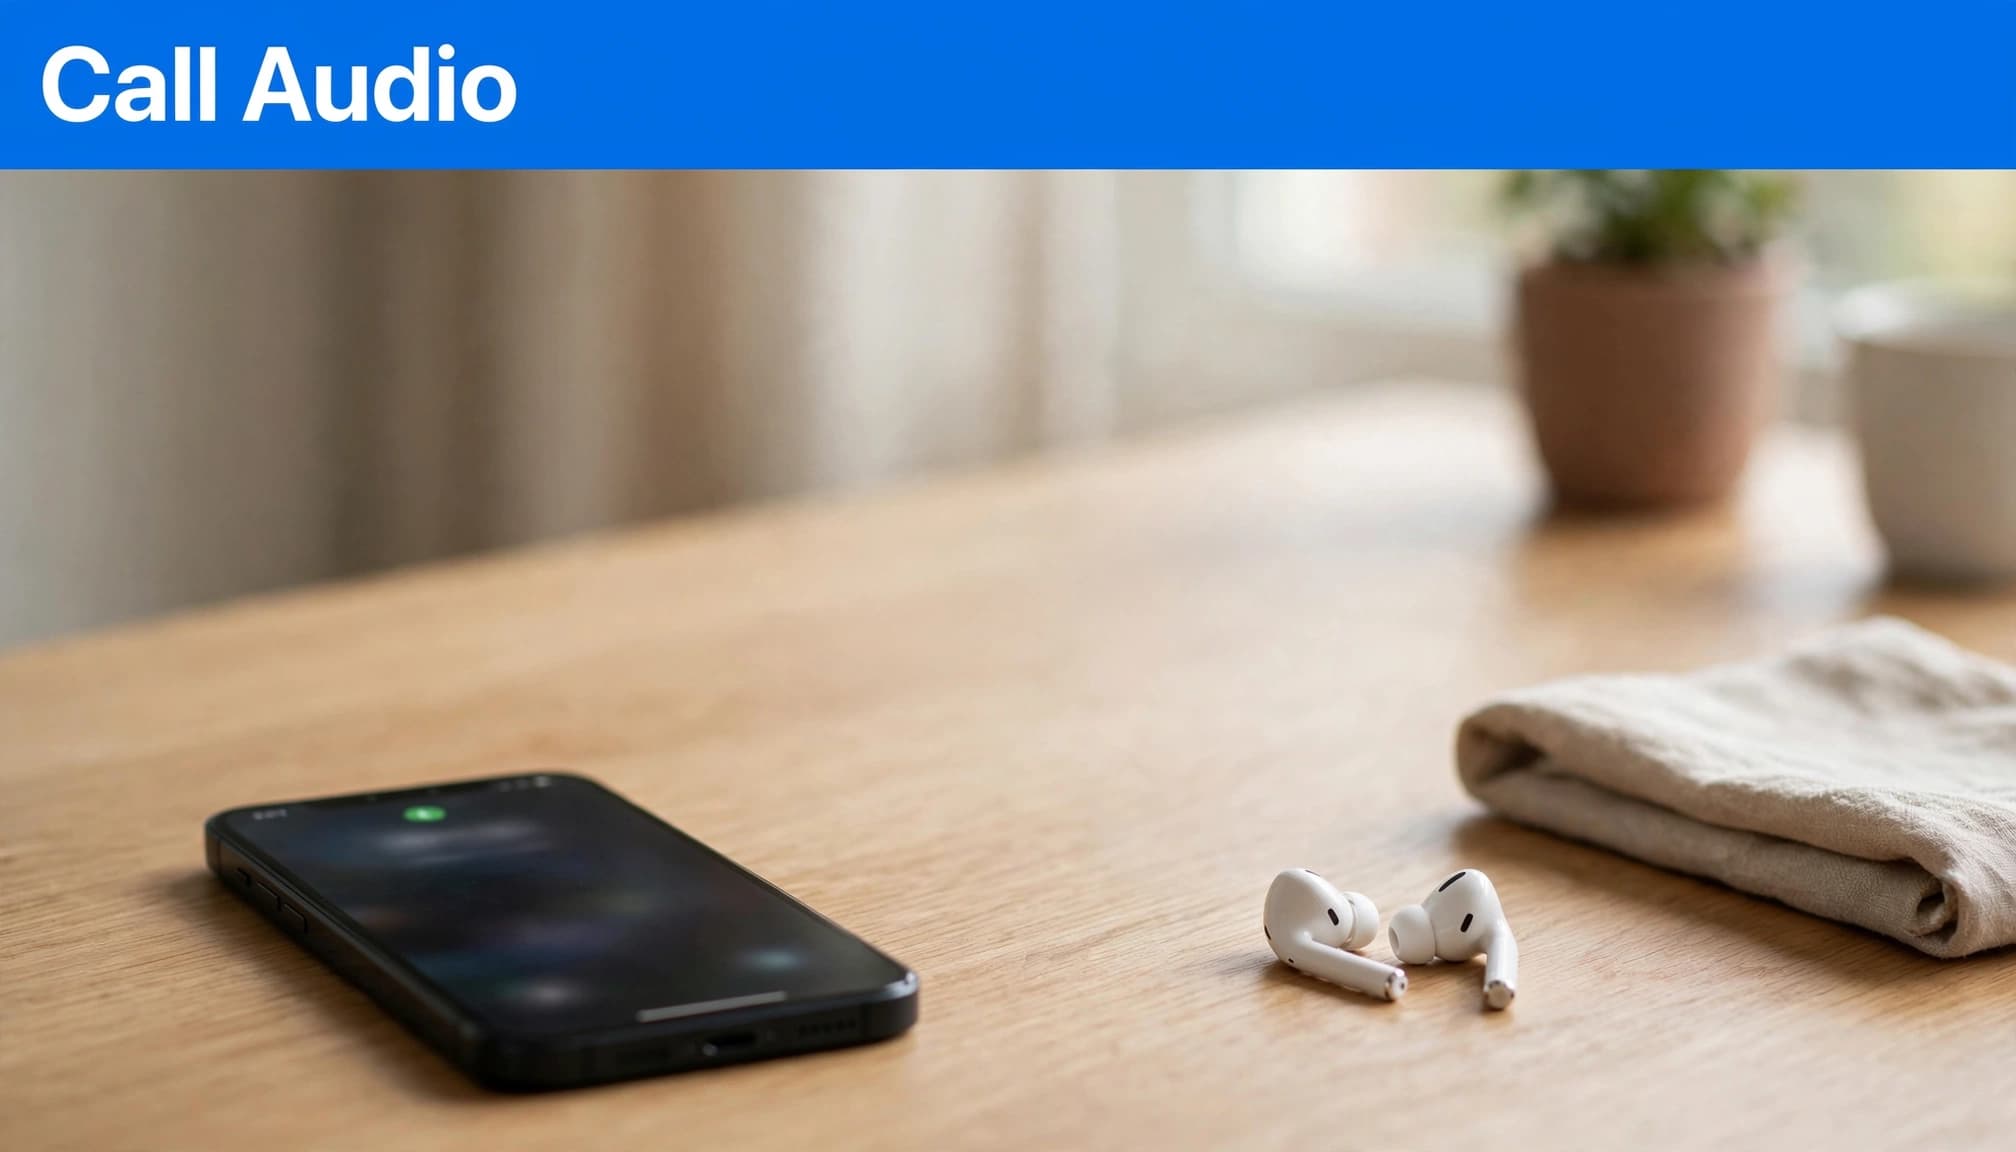
Connected Bluetooth audio devices can provide the call’s microphone input. If your AirPods are across the room, the caller may hear little of what you’re saying.
During the call, check the audio output control in control centre and select the iPhone. For a clearer comparison, temporarily switch Bluetooth off in Settings, then make another call.
We also recommend disconnecting wired headsets and adapters during testing. Otherwise, you may be testing an accessory microphone rather than the phone.
A nearby pair of earbuds isn’t automatically responsible. The important detail is whether the call is routed through them. If changing the route restores clear speech, test the accessory separately before booking an iPhone repair.
Check the Microphone Openings Safely
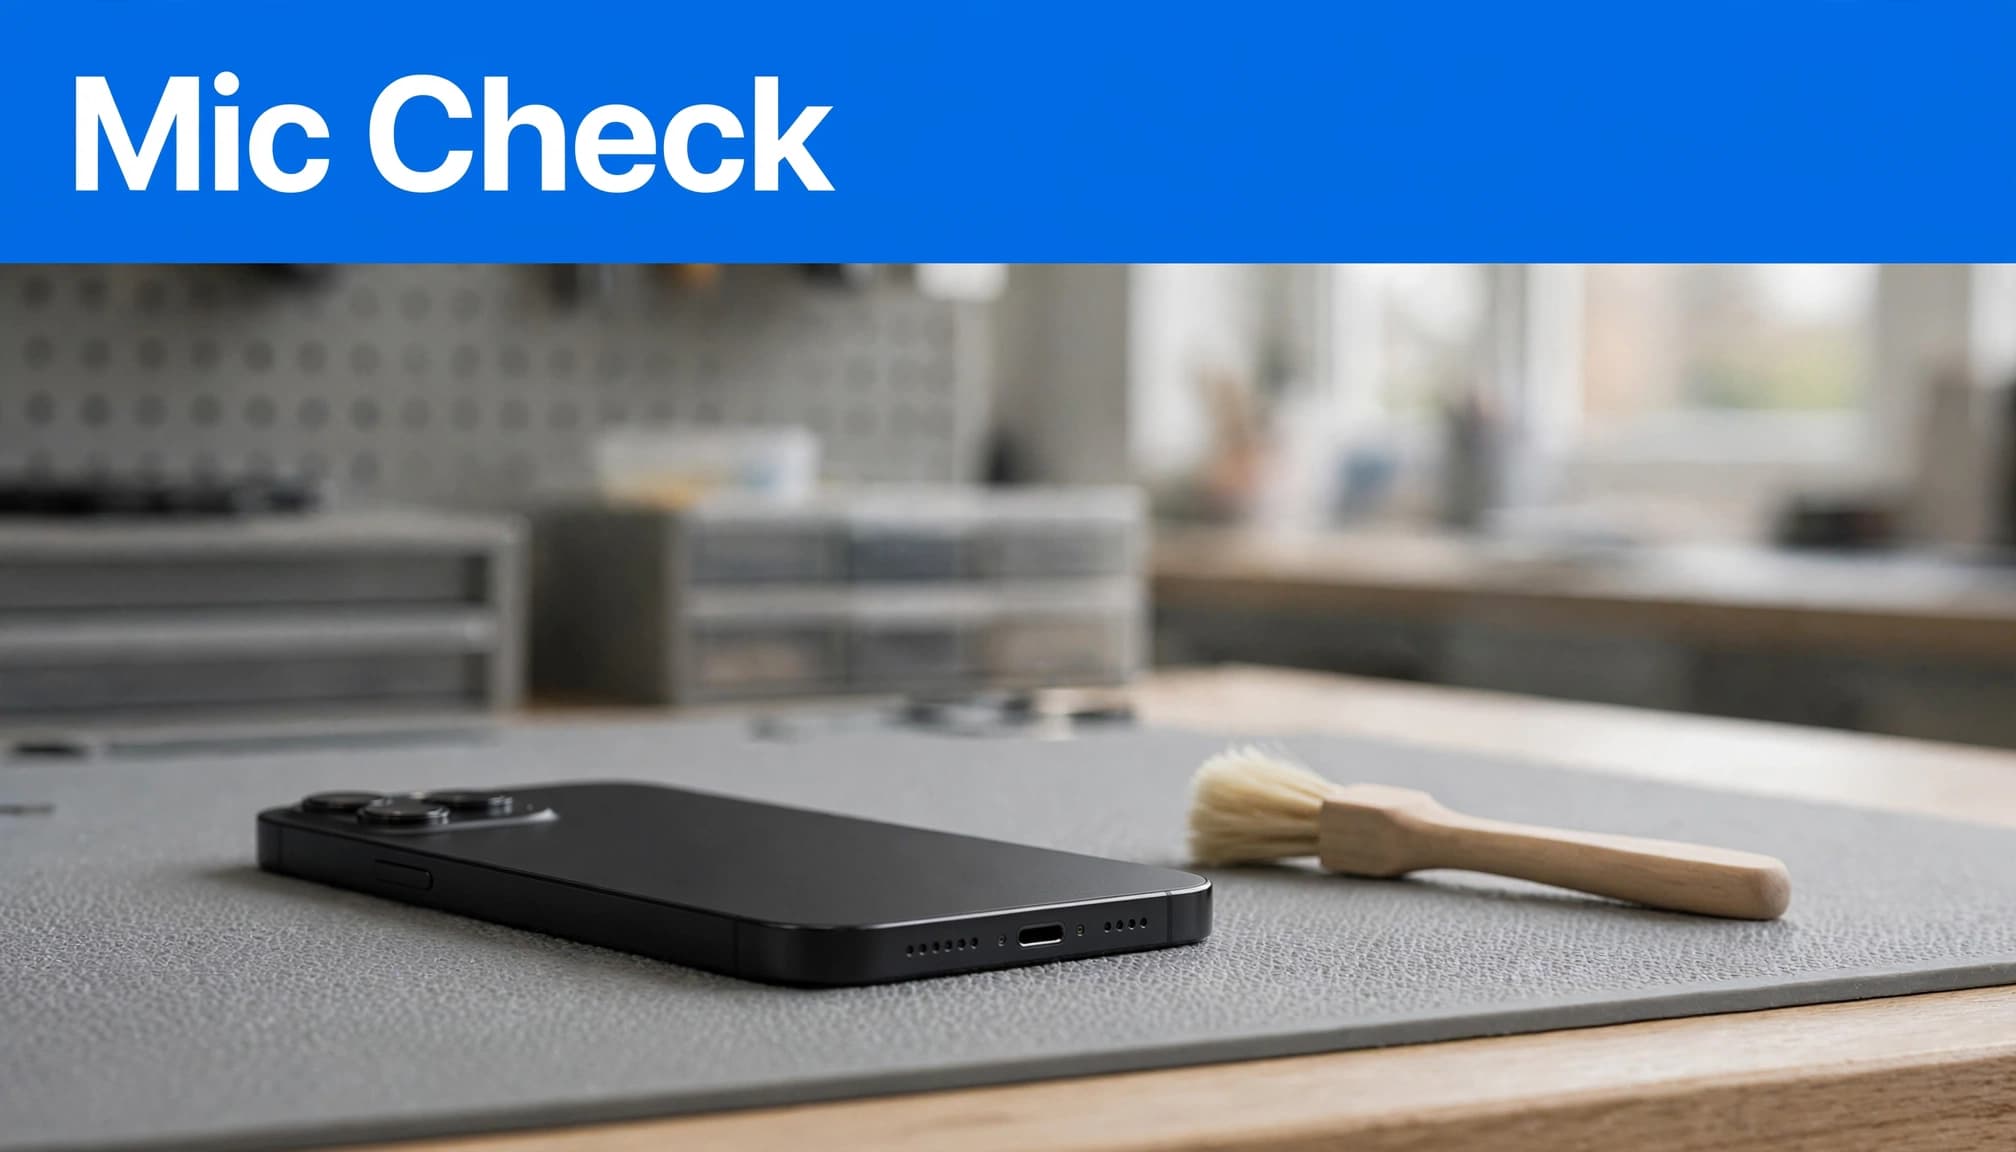
Cases can cover openings, while a poorly positioned screen protector may obstruct the upper audio area. Remove these accessories before deciding the microphone has failed.
Switch the phone off before cleaning. For loose surface debris, gently brush the outside with a clean, soft, dry brush. Don’t push bristles or tools into openings.
Avoid pins, liquids and compressed air. Forcing debris further inside can make the problem worse or damage protective material.
A clearer recording after removing the case is a reason to replace the case, not the microphone.
If dirt is compacted, leave it for a technician. Stop home cleaning if the fault followed liquid exposure or a drop. Cleaning can’t repair damaged components, and repeated attempts may obscure the original problem.
Compare Standard and Voice Isolation
Microphone modes change how supported devices process sound. They won’t repair hardware, but comparing modes can help explain unusual call audio and differences in audio quality.
Use Standard as a Baseline
During an active call, open the control centre and look for the call’s audio controls or Mic Mode. The wording varies with iOS.
Choose Standard if it’s available, then repeat the test in a quiet room. This gives you a consistent comparison before applying stronger filtering to ambient noises.
Voice Isolation prioritises speech and filters ambient noises, including background noise. Standard can retain more ambient noise, so test it when investigating missing or unnatural-sounding speech. Change one setting at a time so you know which adjustment helped.
Check Compatibility Before Looking for Options
Voice Isolation for ordinary phone calls requires iOS 16.4 or later on supported hardware. Automatic Mic Mode requires iOS 18 or later. Check the control centre during a call, as available options vary by device and iOS version.
For FaceTime, Voice Isolation and Wide Spectrum require iOS 15 or later on compatible devices. Wide Spectrum retains more surrounding sound, but it isn’t available during ordinary phone calls.
Apple’s microphone mode compatibility guidance explains these differences. A missing option doesn’t establish a microphone fault. Availability depends on the device, iOS version and app, so don’t keep searching for a control your current call doesn’t support.
Check App Access and Software
Once you’ve compared recordings and audio routes, software checks become more useful. We wouldn’t start by resetting the entire phone.
Investigate an App-Specific Fault
If WhatsApp or other third-party apps fail whilst other tests work, the fault may be app-specific. Search Settings for “Microphone” and check the app permissions, including whether microphone permissions are enabled. Allow access if you want to make calls through it.
Then update the app and close and reopen it. Repeat the comparison before drawing conclusions about hardware.
The orange privacy indicator shows microphone activity, but it doesn’t tell you which physical microphone an app uses. There isn’t a universal app-to-microphone map that you can rely on for diagnosis. One successful test also doesn’t rule out an intermittent fault.
Restart and Update Before Resetting
Restart the iPhone normally first. If the handset freezes, a force restart uses a model-dependent button sequence, so follow the instructions for your device.
Next, check Settings > General > Software Update. Back up beforehand, and install an available update when you have sufficient charge and a reliable connection.
For a problem limited to FaceTime, also review Apple’s FaceTime audio settings. You can check Mic Mode in the control centre. We reserve the reset all settings option for persistent faults after these checks. Erasing the phone isn’t an appropriate first response to unexplained call audio.
Microphone Checks on the Bench at Used Mobiles 4U
Our refurbishment checks include microphones, speakers, cameras, charging, mobile signal and Face ID or Touch ID. A successful voice recording alone isn’t enough to assess the whole handset.
One practical lesson from those checks is that cosmetic appearance and technical condition need separate attention. Grade A describes appearance under a seller’s grading system; it shouldn’t excuse a faulty microphone.
We also inspect screen gaps and the housing. A lifted panel or bent frame deserves closer investigation, particularly when audio trouble follows an impact or previous repair.
You can check an iPhone’s repair history, but Parts and Service History isn’t a complete microphone repair log. Tell the repairer when the fault started, which tests failed and whether the phone has suffered a drop or liquid exposure.
Decide Whether to Repair or Replace
An isolated microphone fault can be worth repairing when charging, battery life and the rest of the phone remain dependable. Ask for a diagnosis and a quotation that includes labour, testing and repair warranty terms.
We weigh replacement more seriously when several faults overlap. A weak battery, bent housing or unreliable charging changes the calculation.
Before paying, check what your refurbished iPhone warranty covers. Our device troubleshooting and support guidance explains the support route for eligible devices. Contact the seller before opening a recently purchased phone.
If replacement makes more sense, use our used iPhone buying checklist to assess more than appearance. Test calls and recordings, check battery health and confirm clear returns terms.
Finally, transfer your data before wiping or selling the old handset. Our second-hand iPhone setup guidance helps you check that your information has arrived safely.
Frequently Asked Questions
How can I test my iPhone call microphone?
Compare a test call with a Voice Memos recording and videos made with the front and rear cameras. Remove the case and check that calls aren’t routed through a Bluetooth or wired accessory.
Why can people hear me in recordings but not on calls?
Recordings and calls can use different microphones, apps or audio processing, so clear recordings don’t rule out every call-related fault. Check call routing, compare speakerphone and ordinary calls, and try another location or calling app.
Can I clean the iPhone microphone openings myself?
Remove the case and gently brush loose debris from the outside with a clean, soft, dry brush. Don’t insert anything into the openings or use liquids or compressed air; leave compacted dirt or suspected damage to a technician.
When should I arrange an iPhone microphone repair?
Consider a hardware assessment if several recordings remain muffled or silent after basic checks, or if the problem began after a drop or liquid exposure. Keep your test recordings and tell the repairer when the fault started and which checks you tried.
Diagnose the Fault Before Paying for Repair
We recommend comparing recordings, call types and audio routes before assuming your iPhone call microphone has failed. Don’t use reset all settings as a substitute for evidence-based checks. Their results give a repairer useful evidence and help you avoid unnecessary work.
Repair is sensible for an isolated fault on an otherwise healthy phone. Consider replacement when the total repair bill includes several ageing or damaged parts.
Written by James Waterston, with 24 years in the mobile phone industry, from customer service to Sales Director of a global repair and recycling company. Now running Used Mobiles 4U for over 8 years.
Looking for a refurbished phone?
Shop professionally tested refurbished iPhones and Samsung phones with 18 month warranty, 30 day returns and free UK delivery.
Browse Refurbished Phones